Approving & Linking a Note/ Diagnosi
When recording a consultation, you can select a patient or skip that step and link a patient and diagnosis from a newly created note as seem in the following steps:
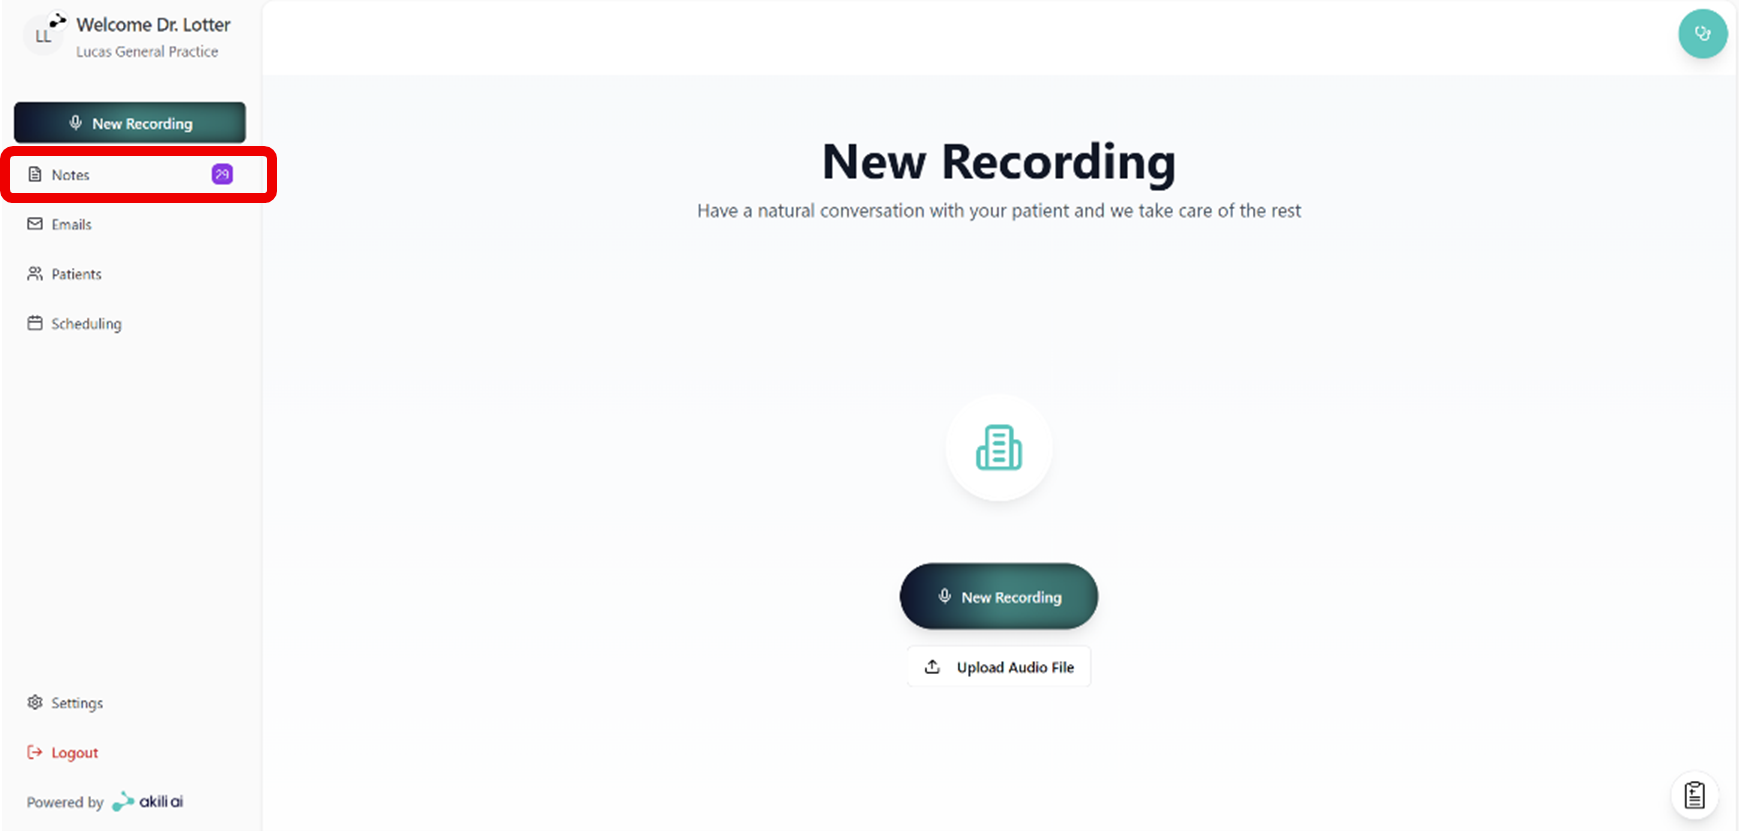
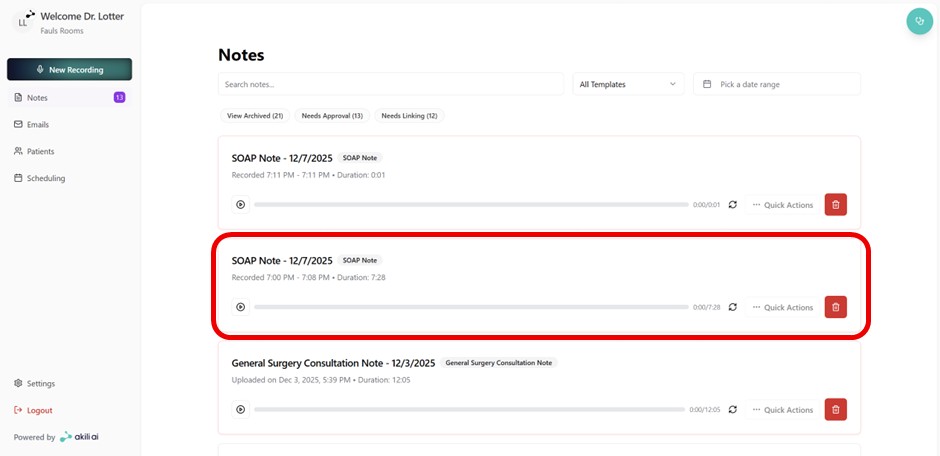
Step 1: Navigate to the Notes screen from the navigation tab after recording a note (this is for unapproved and unlinked notes)
Step 2: Select the note that you would like to link to link to a patient, a diagnosis, and approve.
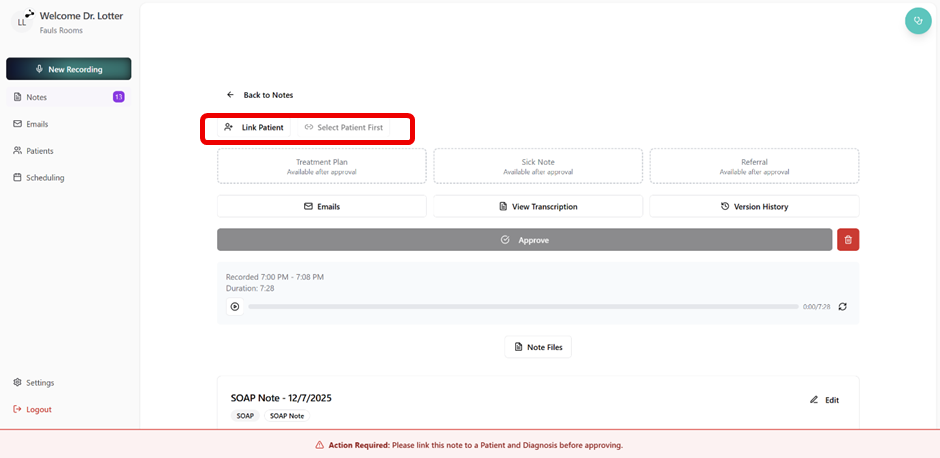
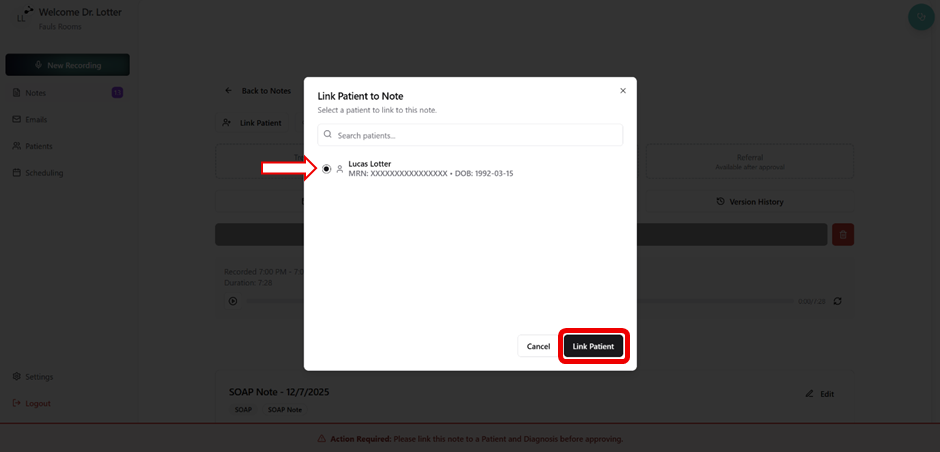
Step 3: Select “Link Patient” from the top left of the note screen
Step 4: Select patient and click “Link Patient”
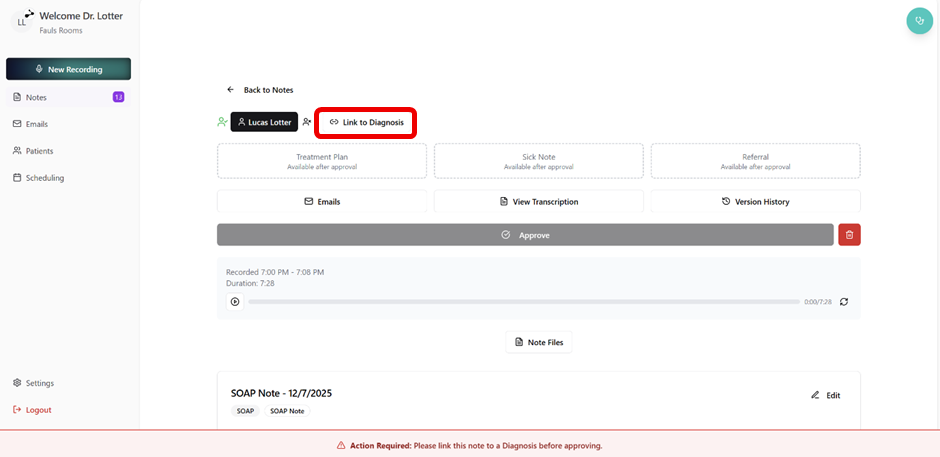
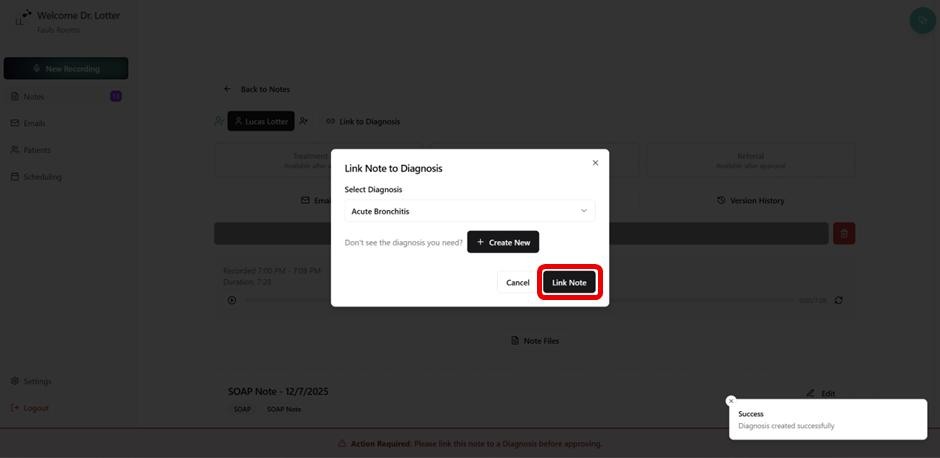
Step 5: Select “Link to Diagnosis”
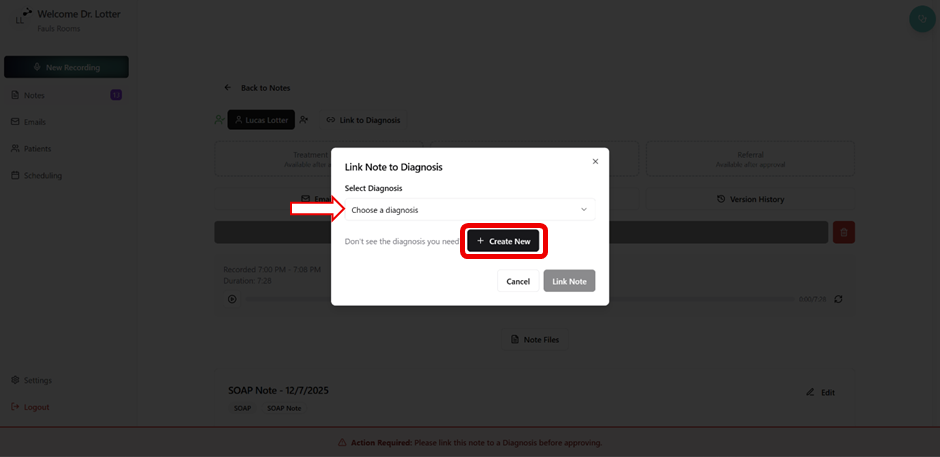
Step 6: Select a Diagnosis from the drop down menu (if it has already been created for the patient in question) or select “Create New” diagnosis.
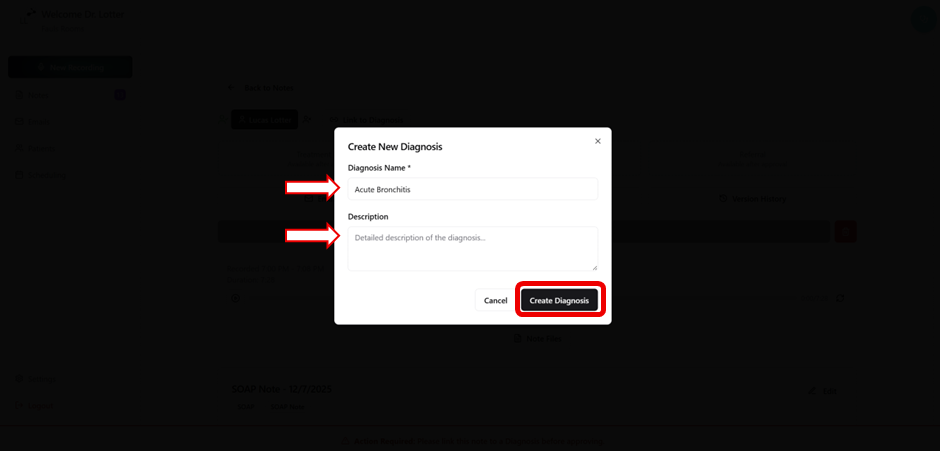
Step 7: Enter a diagnosis name, description, and select “Create Diagnosis”
Step 8: Select the “Link Note” to complete the diagnosis link
Step 9: Note approval involves:
- Audio playback of the consultation (If required)
- The ability to attach relevant note files (PDF’s, Images)
- Note editing capabilities
- Note Approval
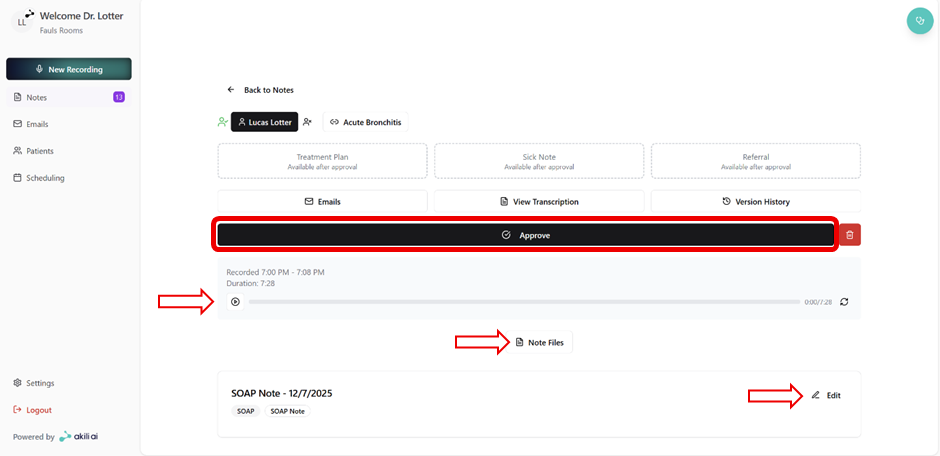
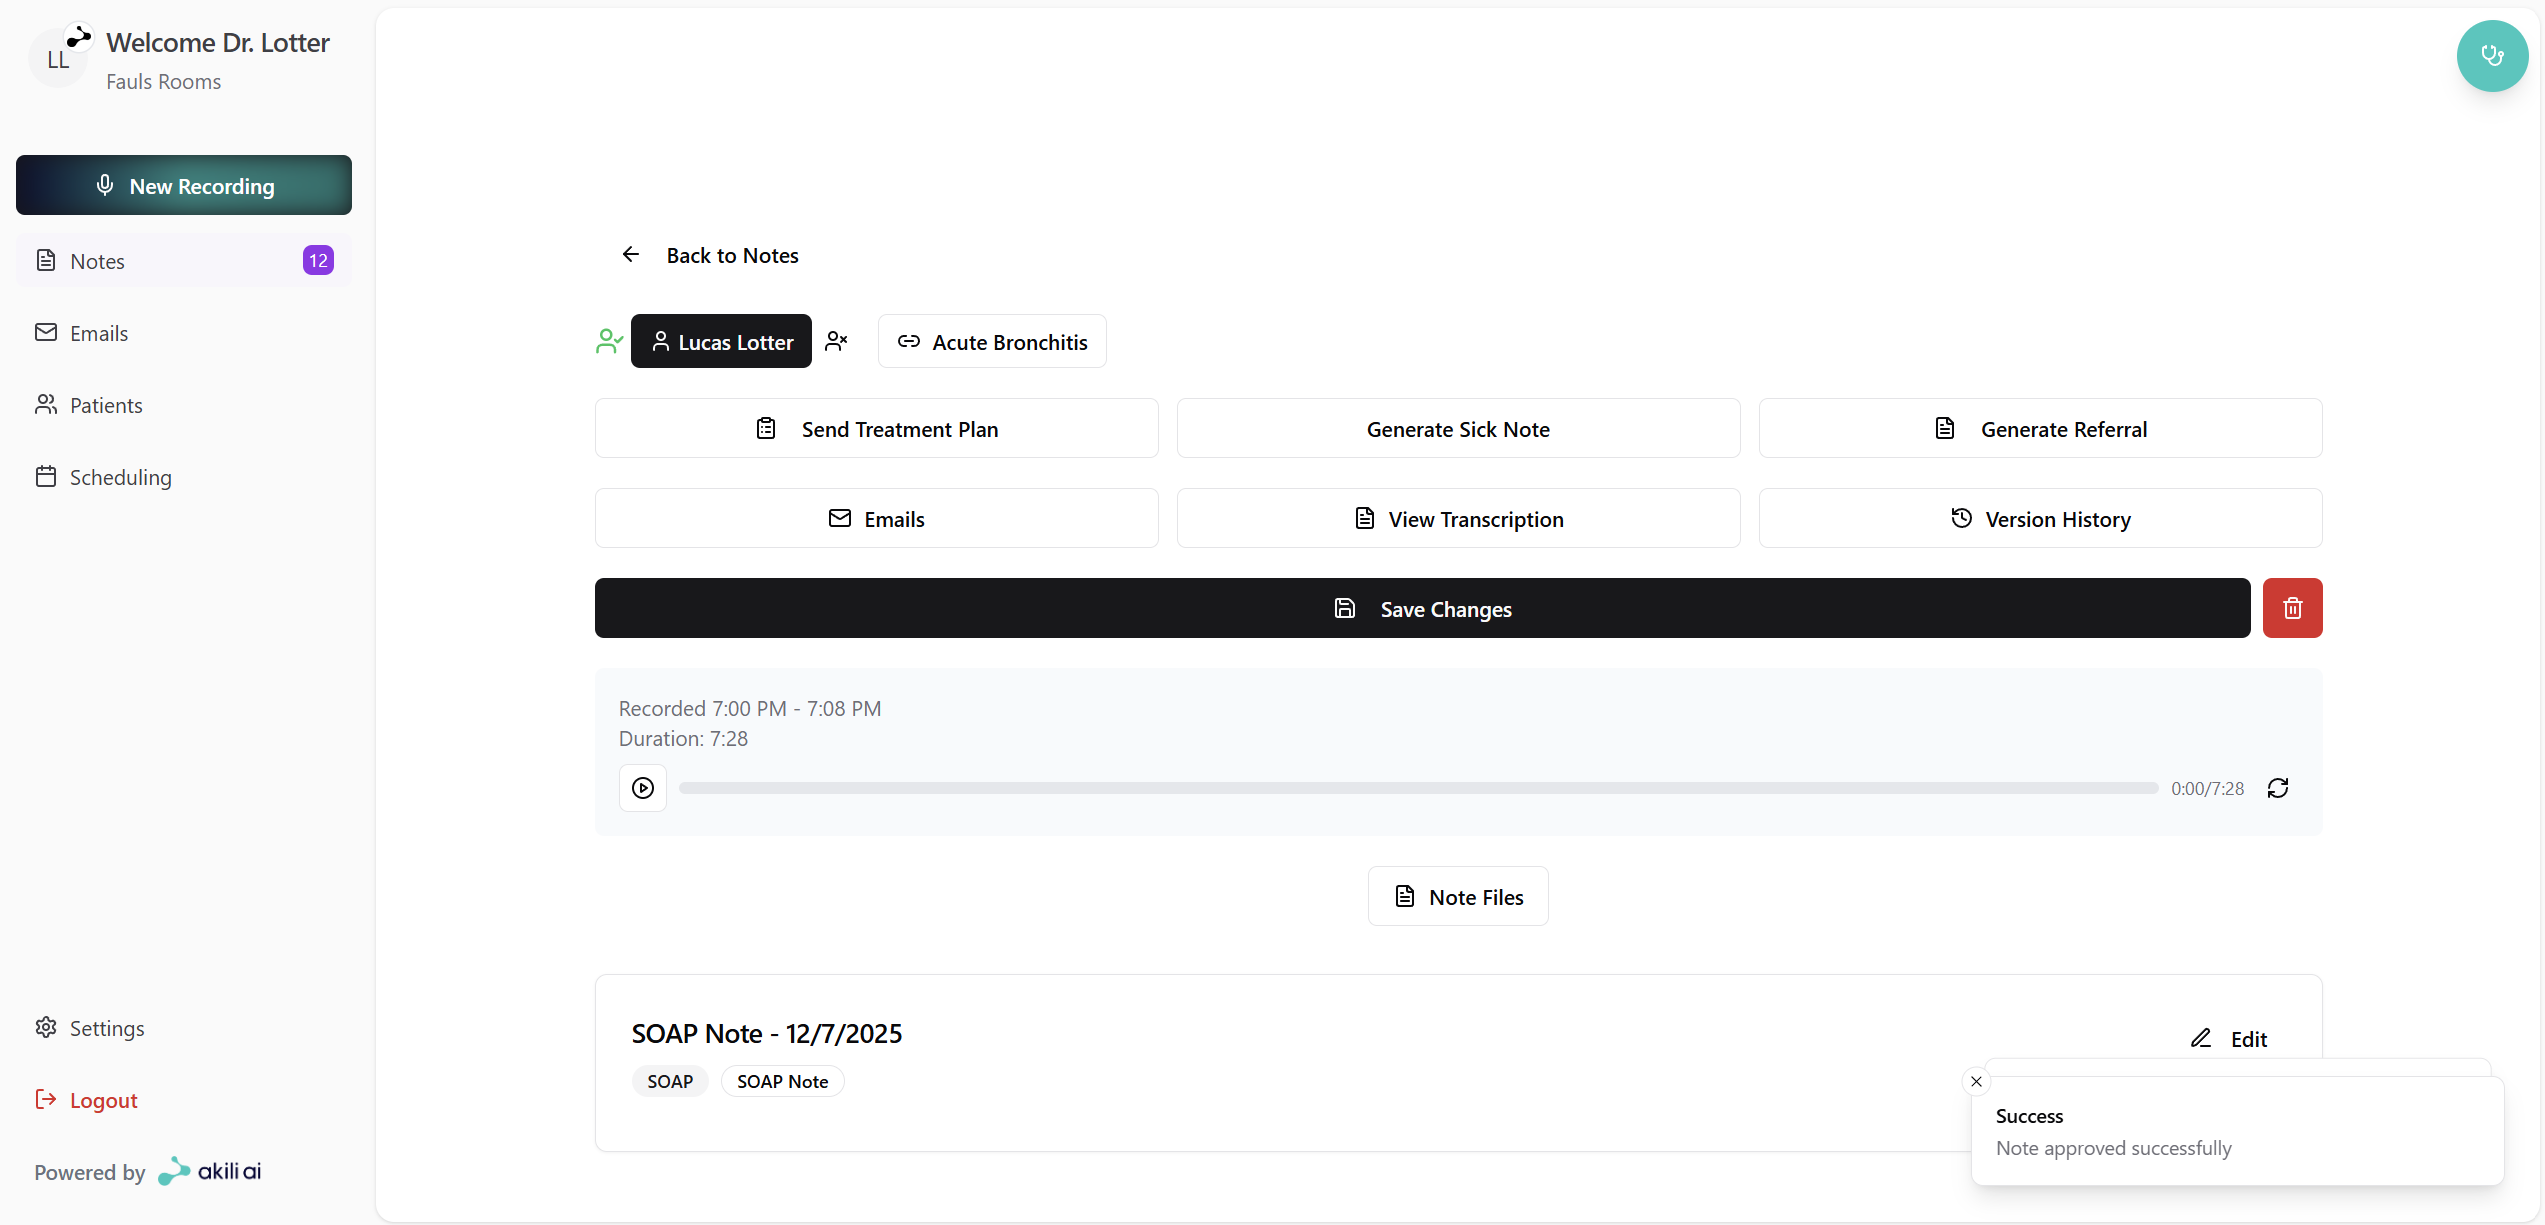
Step 10: View the approved note to do the following:
- Further changes: made with a full version history
- Navigation back to the patient record after linking
- Send medical documentation